Simple requirements for ensuring a top quality synthetic turf pitch installation
- 10/15/2020
Following on from our series on Producing Synthetic Grass, we now look at what happens once it is on site.
A truism is that a poor quality surface, really well installed, will look much better than a badly installed, high quality turf. It will also play and last better.
Layout
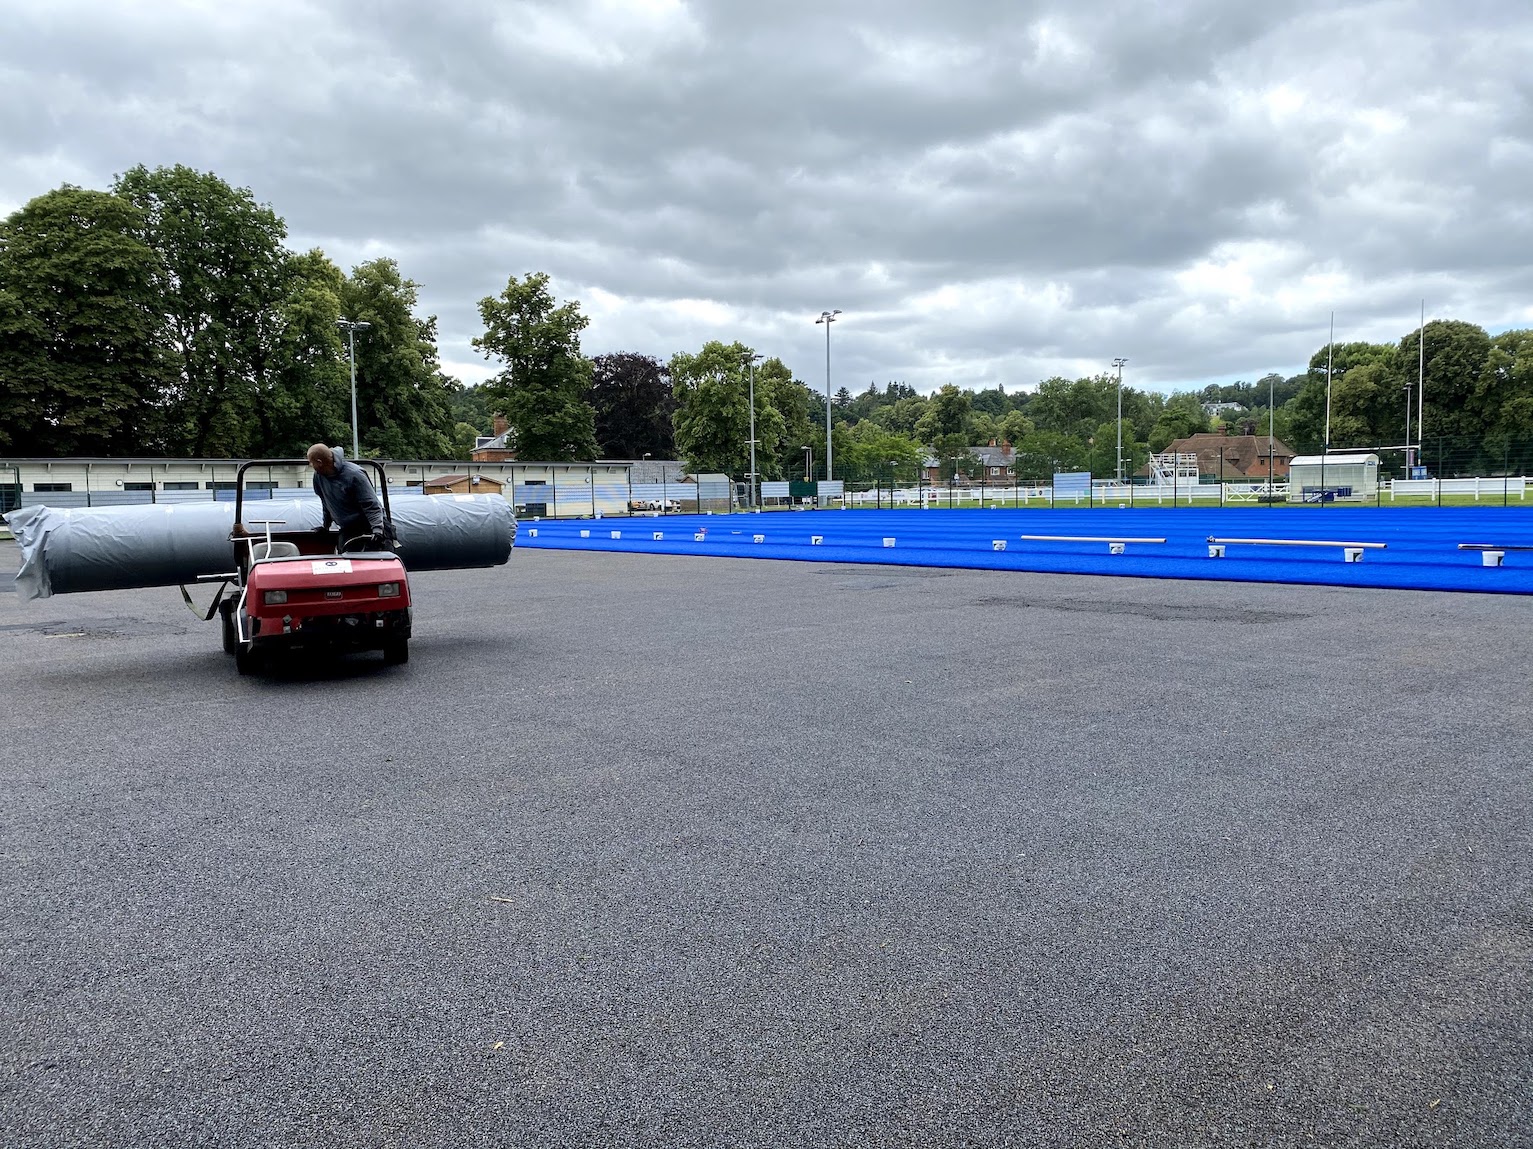
Each roll is numbered and corresponds with the same number on the layout plan. It is important to follow the plan exactly, to ensure inlaid lines are correctly positioned, and to record roll positions.
Rolls are normally laid to one side of the pitch and at one end. Lines to be cut in, can either be on one of the end or side rolls, or may on a separate roll, but will be clearly shown on the layout plan.
Pitch preparation
The base should be clear of any debris, such as leaves, loose stones or other materials, prior to unrolling each roll. When laid onto compacted, loose stone, this needs to be checked for levels, before unrolling the turf. If installed over a pad, this should be completed before the turf is unrolled, enabling the turf installers to focus on laying the artificial grass.
Experience, equipment and time
An experienced installation team is needed, with the right equipment and enough time to complete the work. This may mean allowing extra time in the case of wet, windy or very hot weather. Allowance should also be made for the type of turf being installed. If it has a PU backing, this may be stiffer to work with, but at the risk of causing the installer a little extra work, means longer-term value for the end client.
Preparing and making joints
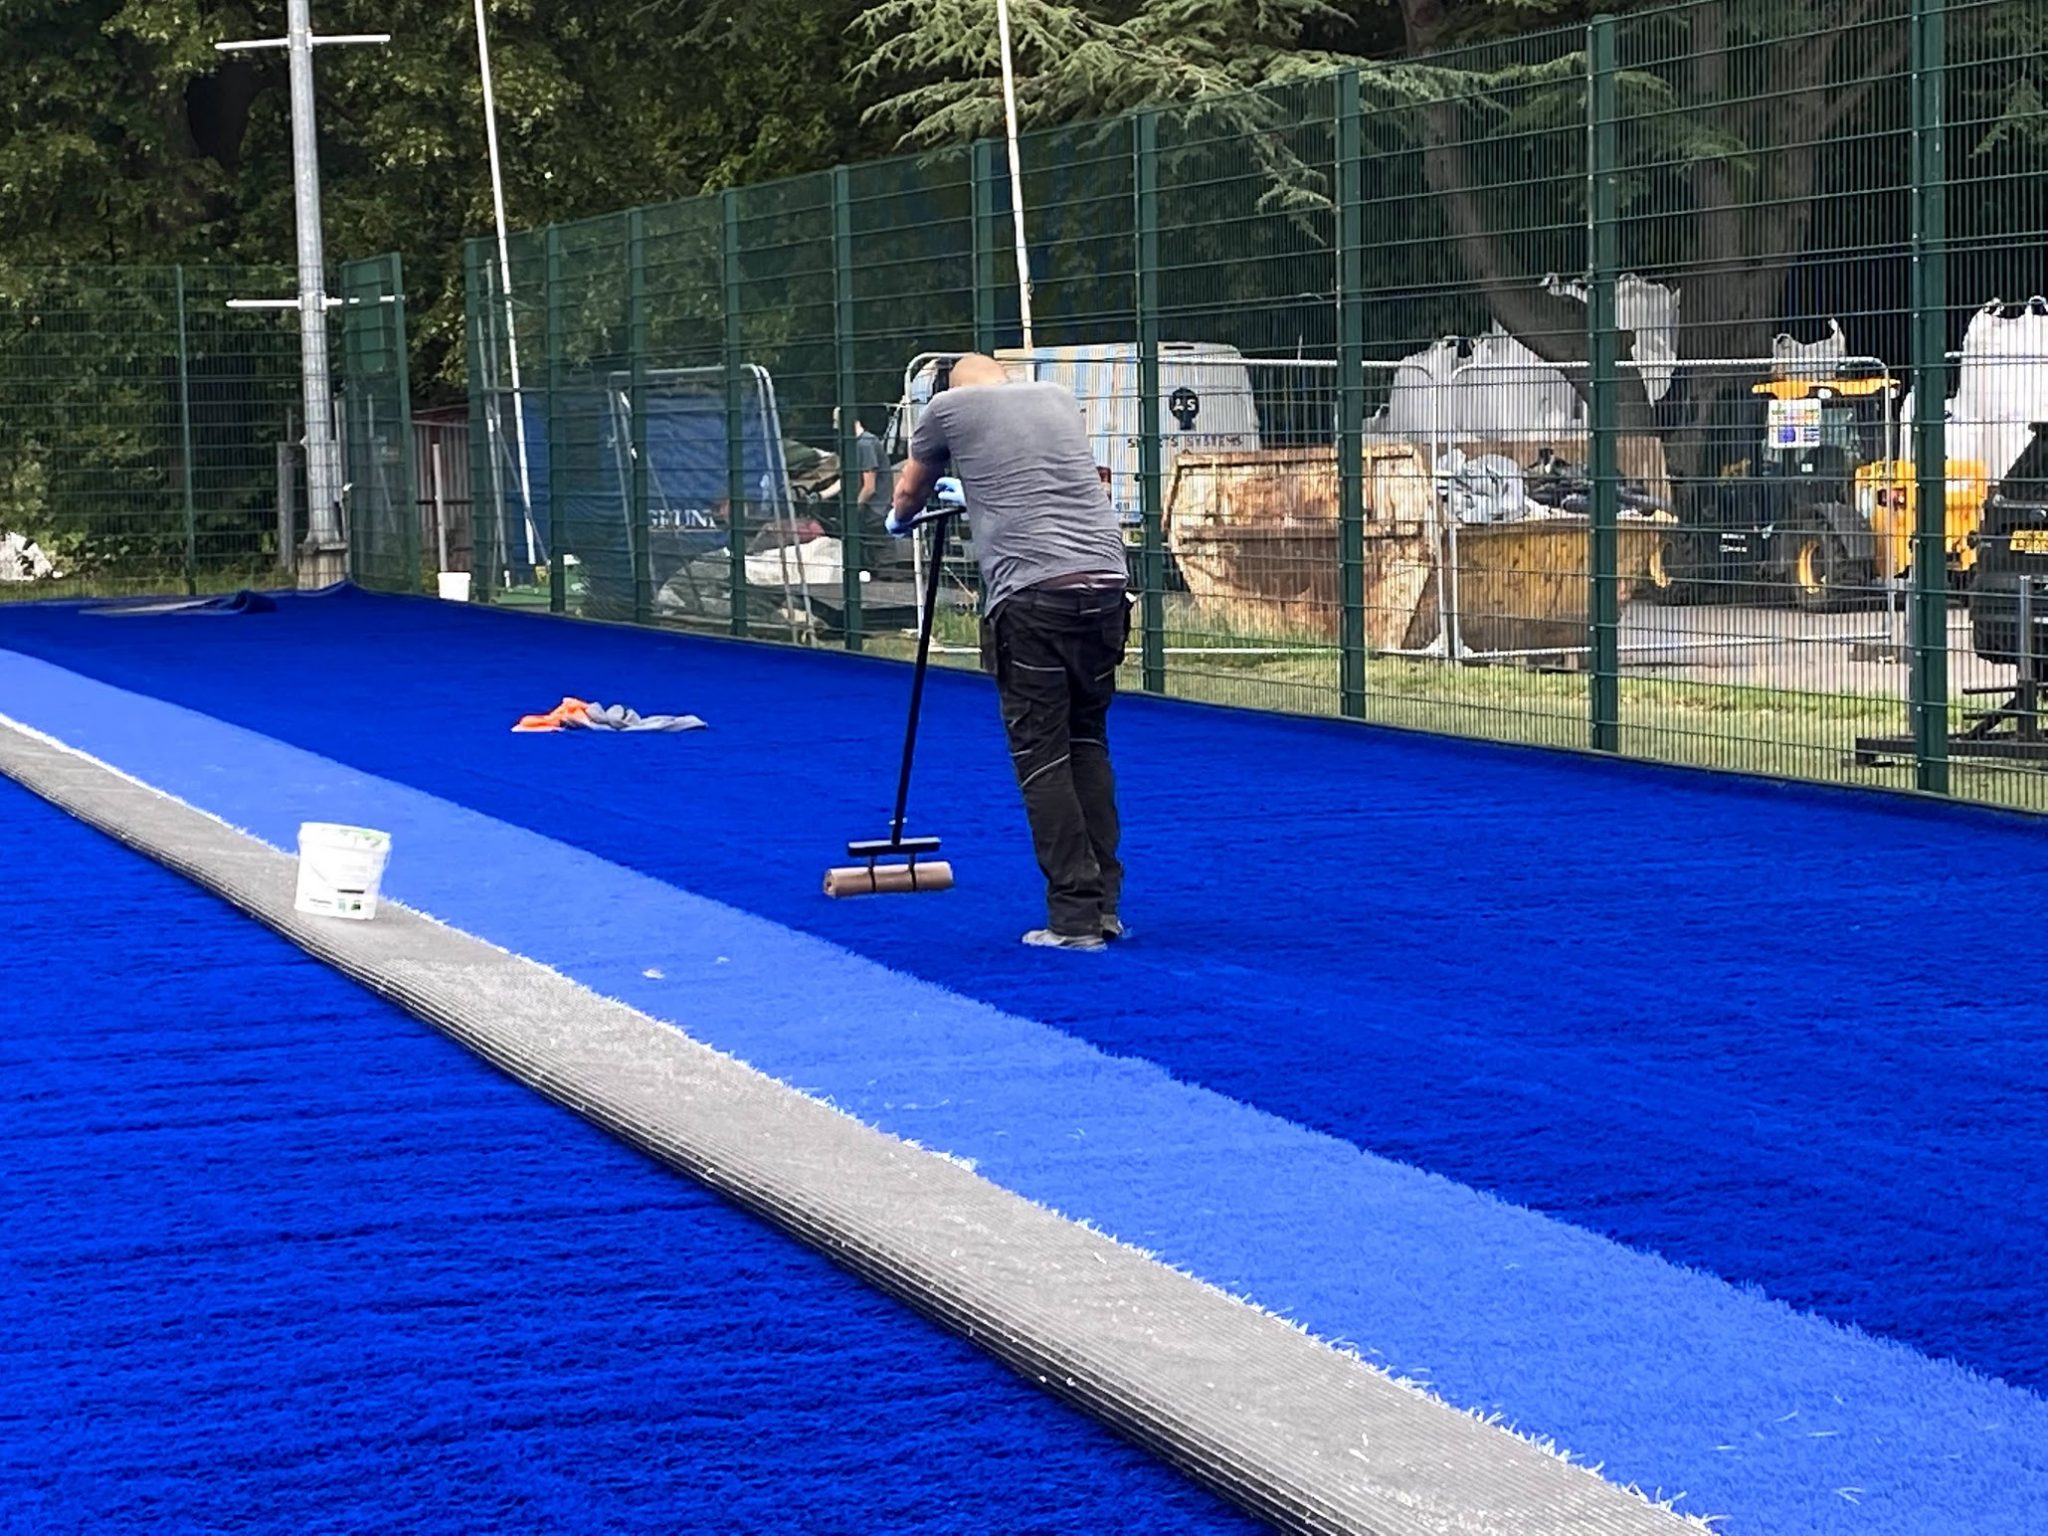
The turf is unrolled and edges trimmed, using a sharp knife, to ensure a good seam joint. Rolls are normally 4m wide and run the width of the playing area. This means many long joints will be made. It is therefore important to use an approved and tested adhesive, which is properly mixed and spread evenly onto the appropriate backing tape. As important is to ensure a good “bond” is achieved, and this is done by applying pressure to the joint, normally through rolling or the application of weight.
A correctly installed pitch will have no gaps where rolls are joined together, avoiding future potential seam failure. A raised seam is a weakness in the surface, leading to quicker pitch failure and can also be a potential trip hazard for players.
Lines
Playing lines are either manufactured into the turf or cut in. For the former, it is important that rolls are correctly positioned, so lines are in the right place, and then pulled straight to ensure a true line. Where line markings are cut in, then the same procedure is followed, as when making a seam, although a special two knife cutter will be used to cut through the green turf, to allow the line marking to drop into place.
Infill
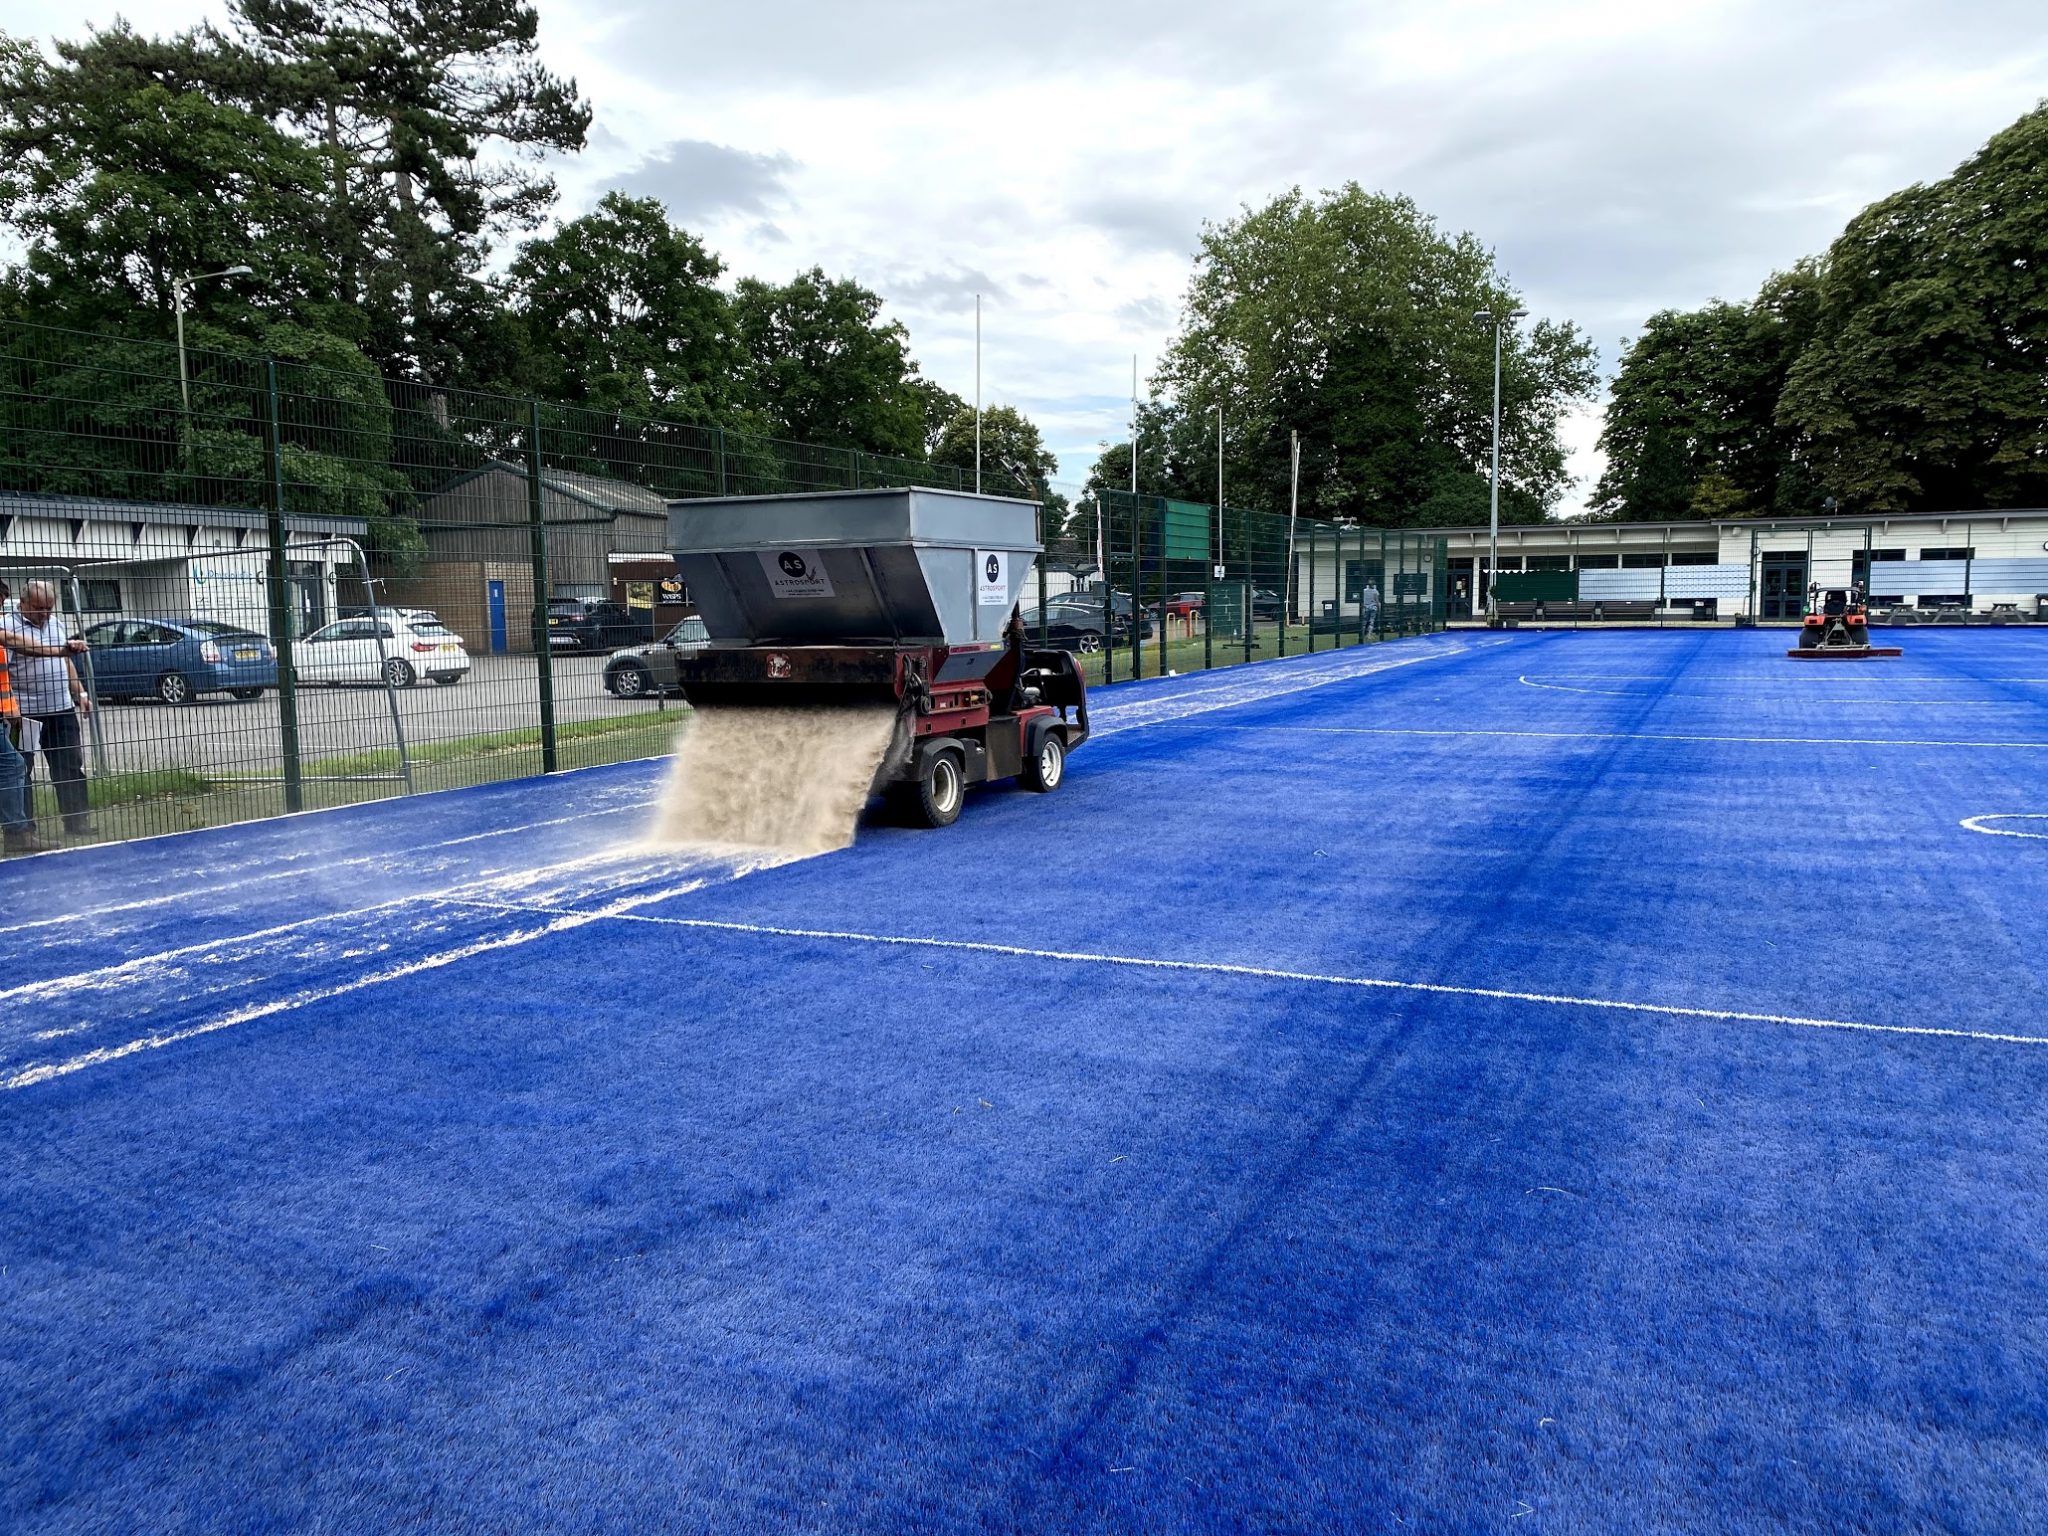
Ensuring that the right depth of infill material is applied, over the entire pitch, edge to edge, is essential for top performance and long term consistency. The infill should be spread in layers and brushed in, evenly, to the desired height. Leaving excessive rubber infill at the top, or even on the fibres, does not mean the pitch is completed correctly. This infill may eventually settle into the fibres, but often doesn’t.
Completion
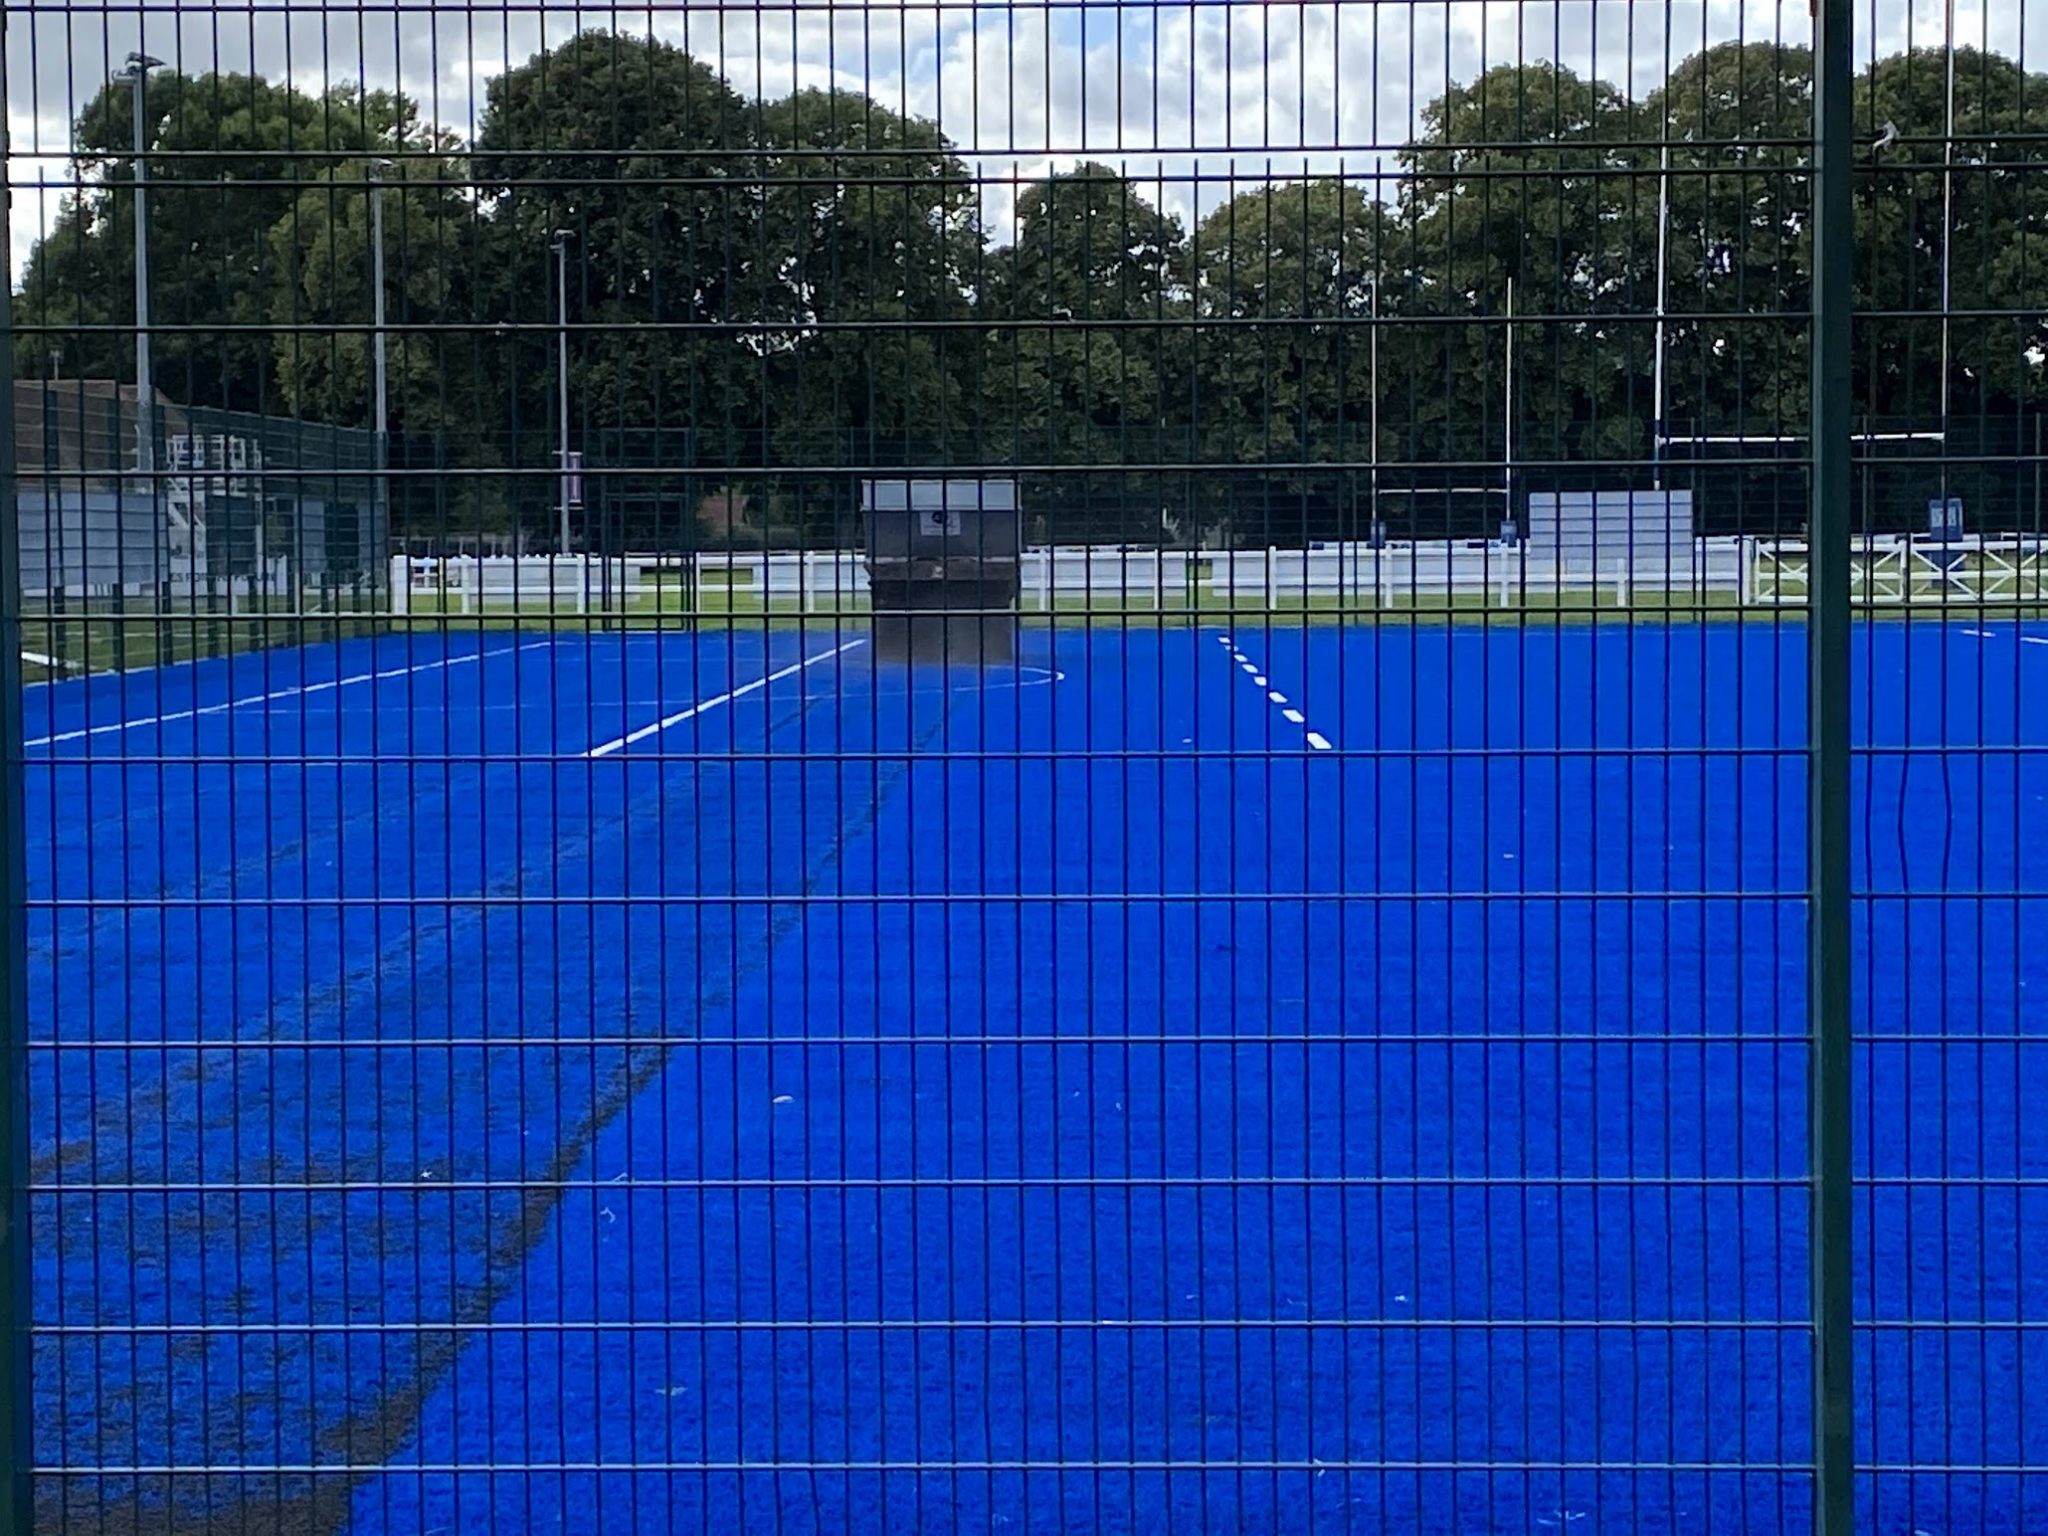
A final inspection of the surface, before the installer signs the pitch over, should confirm that long surface fibres or loops are dealt with, cut fibres from joints are vacuumed and areas around the playing area are correctly infilled. If all this is achieved then the client will receive a well-installed surface.
Maintenance advice and a manual are handed to the client, appropriate to the surface offered.
If the pitch is to be tested, then this is organised with an independent test house, who will carry out field tests, before a certificate is given.


